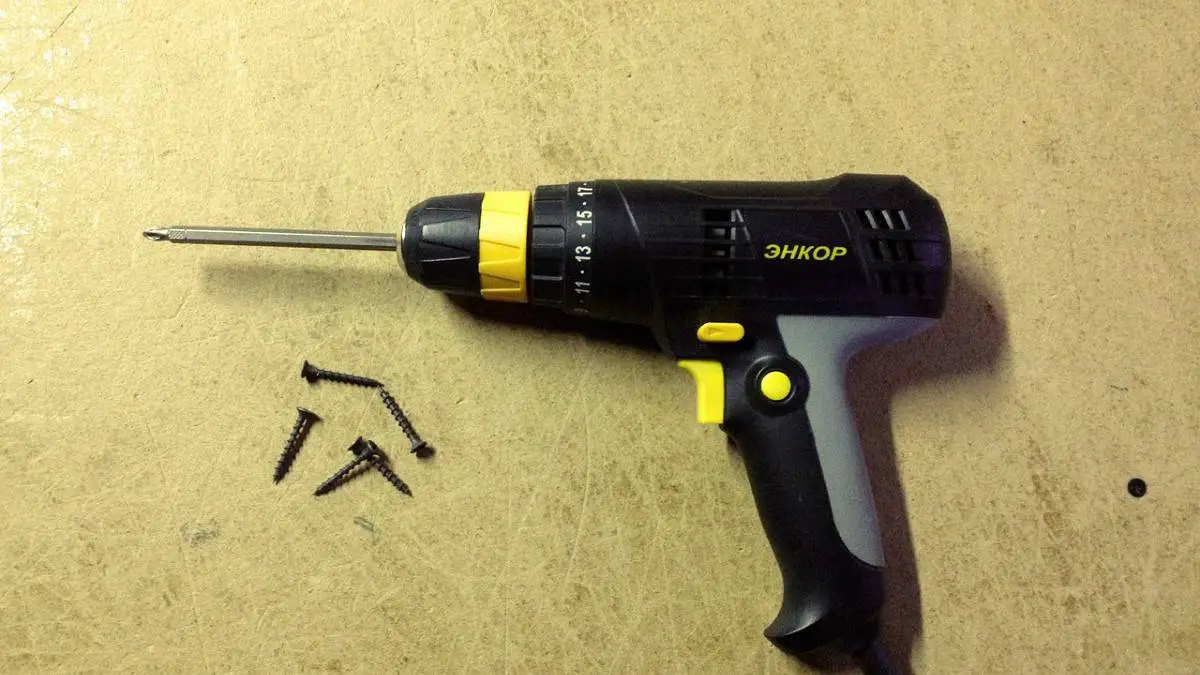
Modern electric drills for woodworking are extremely versatile. There are many different types of drill bits and also accessories for the drill.
However, can an electric drill actually be used to turn screws, as with a screwdriver? The short answer to this question is Yes!
In our discussion below, we will assume that the operator is using a variable-speed, reversible electric drill. That is because you need to be able to control the speed of the screwdriver. Also, you need to be able to reverse the rotation of the drill to tighten and loosen the screws.
Here are the steps to do this:
Note: This post may contain affiliate links. If you purchase a product through an affiliate link, I’ll earn a commission, at no cost to you. To find out more, see my full disclosure.
1. Pick out a Screwdriver Bit for the Drill
The bit can have a Flat blade head, Phillips head, or even Nutdriver shaped head. So, the bit you use will depend on the type of screw you have.
Also, you want to pick a screwdriver bit with a tip about the size of the screw head you are working with.
If it is much smaller, the leverage will be low. As a result, the drill bit could have a tendency to slip out of the screw head as it is being turned. This could cause the wood to get chewed up and is more of a problem with a soft wood, such as pine. Also, you might ruin the bit and/or screw head.
If the bit is too large, the edges of the bit will protrude out of the screw head. Then, the rotating protrusion could cause the same problems.
2. Put the Screwdriver Bit into the Chuck
The chuck is the part at the front of the drill that holds the bit. Tighten with the chuck key so that the bit is held by the drill. You don’t want to overtighten the drill bit. However, make sure that it is entirely secure and will not loosen as you work with the screw.
3. Hold the drill firmly
Make sure that your grip is secure. The screw will offer resistance to turning and you do not want the tool to be thrown out of your hands. Power tools should always be under your control. This is an important safety consideration.
4. Position the screwdriver bit
Make sure that the bit is definitely in the slot of the screw or proper recess. Push down, in order to ensure that the bit stays where it has been placed. This is important because you don’t want the bit to slip out and mar the wood or ruin the screw head. You can even ruin the bit if this happens.
5. Turn the Screw
Start the drill at a very slow speed if you need to. Make sure that the tool is fully under your control at all times. In particular, do not increase the drill speed to the point where damage can occur if the drill bit slips out of place.
6. Consider Hardness of Wood
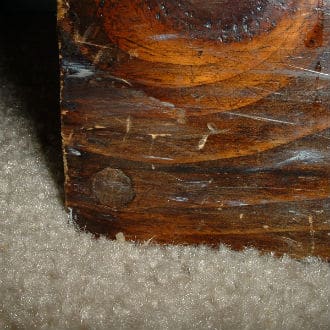
With a soft wood like Pine, you can probably tighten the screw so that the top of the head is flush with the surface of the wood. That is, the cone-shaped head of the wood screw is able to push the wood away as you do the final tightening. However, you cannot always do this. Also, you want to avoid placing undue stress on the wood. This can cause it to crack!

With harder woods like Oak, it’s even more of an issue. With both hard and soft woods, you should consider drilling a pilot hole for the screw. The pilot hole makes it easier to turn and tighten the screw. Also, specialized countersinking pilot hole bits can actually cut away cone-shaped sections for the screw head, allowing you to tighten the screw below the surface of the wood. You can then cover up the hole with either a wood plug or a piece of dowel.
7. Removing Screw
Removing the screw is very similar. Apply pressure to make sure that the screwdriver bit stays seated properly. Make sure that it does not jump out and hold the drill securely.
There is a caveat to this: Make sure that you are turning the screw in the proper direction. Most of the time, you will be working with screws that have a normal thread. Then, you want the drill to rotate clockwise to tighten and counterclockwise to loosen the screw.
However, some screws have reverse threads (also known as left-handed threads). These operate in the opposite way: rotate counterclockwise to tighten, clockwise to loosen.
For a reversible drill, the rotation direction is controlled by the direction switch. This might be a small lever near the hand trigger. To reverse the direction of rotation, flip the lever to the other position. However, you should wait for the drill to stop rotating before changing direction. Otherwise, you might break the drill. For more information, you should refer to the instructions from the drill manufacturer.
Black and Decker LDX120C 20 V Cordless Drill
Here’s an example of a very popular drill /driver. It’s really good for household use rather than work on a large project. So, you might want to look at one with more power and features if you plan on using it for your business.
The size of the chuck is 3/8 inch. This is a really good size and is large enough for most bits you will need to use.
This includes the drill itself, a battery pack, a charger for the battery, and also a screwdriver bit.
The drill is variable speed. Also, you can reverse the direction of rotation. This is great for removing screws, in particular.
Battery Powered Drill
You can also use screwdriver bits with battery powered drills. This is very convenient: You no longer need to be near an outlet or extension cord. So, you can easily work outside or away from the workshop. However, you do need to recharge the device from time to time.
Hand Tool – Brace and Screwdriver Bit
On Television and in Videos, you often see people zipping screws in and out with a power drill. Certainly, this process does not take much time and is often a practical way of working with a screwdriver bit. However, you should also consider the use of a hand tool: The Brace.

You can obtain screwdriver bits for a Brace. You might be wondering: Why a hand tool when you can use a power tool, instead. The electric motor will save you a lot of elbow grease and the job will take much less time.
However, the Brace has several advantages:
- The crank you turn gives you much more leverage than you get with the electric drill. This makes it easier to tighten screws and also loosen them.
- You have much more control over the process. You can apply as much force as you need to. The hand trigger of an electric drill does control the drill speed. However, it does not give you precise control over the screw.
- You can often find a Brace with a ratchet mechanism. This allows you to move the crank part way back and forth in order to rotate the screw. This is a convenient feature and allows you to do you work in a tighter space with less room. This often allows the process to go more smoothly and adds to your satisfaction with the job.
Here is a good compromise: You can use the electric drill to do most of the turning of the screw. However, as you approach the wood surface, you might want to switch to the Brace and Screwdriver Bit with Ratchet. This will allow you to do the final tightening of the screw with the Brace. There is less chance you will mar the wood, or have any other problem with this process. You might not want to do this all the time. However, when building furniture, you might want to consider this option. This is because small imperfections or marring of the wood can be brought out by wood stains commonly used for furniture.
Conclusion: Can an Electric Drill be used as a Screwdriver?
In this post, we showed that electric drills certainly can be used to drive screws. They can tighten them as well as loosen them. We showed the steps for doing this and also noted that you should match the size of the bit to the head size of the screw to avoid marring the wood surface, chewing up the screw head, and ruining the bit!
We mentioned that The Brace (a Woodworking hand tool) can often be used as a screwdriver and offers several advantages over the electric drill screwdriver. One approach is to use the drill for most of the work and then use the Brace for the final tightening/loosening of the screw.
Did you enjoy this article? If so, you might be interested in my boards on Pinterest.
Please feel free to make any comments below. Is anything missing? Are there other steps or points to add?
Related Posts:
Are Drill Bits Interchangeable between Brands?
Can An Electric Drill Be Used As A Sander?
Why Is My Corded Drill Sparking?
14 Ways Drill Accessories Can Increase Your Productivity
How Long Does Shellac Take To Dry?
Can You Sand MDF?
What Does MDF Stand For?
Can You Burn Plywood?
Can You Burn Stained Wood?
Board Foot vs Linear Foot: What’s The Difference?
15 Common Mistakes When Cutting Plywood With A Jigsaw
What Is Meant By The TPI OF Jigsaw Blades?
What Is The Best Angle For Stool Legs?
What Materials Can A Coping Saw Cut?
59 Cool Woodworking Sayings That Will Make You Smile
11 Benefits Of Woodworking As A Hobby


If you find any disapproval of this post. We don’t think so. Because I benefited from it.
I am in search of users to have various complications in wood developing.
The point of view in your document. I agree. I will share the item with my customers.
I like your writing style. Truly enjoying this web site.
Cool site, thanks for your time
Thank you for taking the time to share your positive feedback. We’re thrilled to hear that you’re enjoying our site!
We’re continuously making efforts to provide comprehensive and informative content for our users. Your acknowledgement and satisfaction are the driving forces behind our dedication.
Please feel free to explore other resources available on our site. If you have any questions, suggestions, or topics you’d like us to cover, don’t hesitate to let us know.
Thank you once again for your kind words.