Everything you need to know to start woodworking? It’s hard for a guide to cover all topics. However, the major issues will be listed here. We will also give you helpful tips and tricks.
So, you decided to get into woodworking. Congratulations! It’s a very enjoyable, relaxing, worthwhile, and stress-relieving hobby. What’s more, you can even earn money doing what you truly enjoy.
As with any new hobby, there are many things to figure out and learn. Where do you start?
Actually, it’s always best to define terms. Here’s the definition of woodworking:
The act, process, or occupation of working wood into a useful or desired form
Merriam-Webster Dictionary
So, we see that woodworking involves the modification of wood into a more useful or desirable form. Woodworkers get a real sense of accomplishment after creating some beautiful and useful objects.
Also, you’re building something that serves a real purpose. After all your hard work, you have produced an item of value: A piece of furniture can support a person. A cabinet for old dishes can be a work of art.
It’s hard to put a price on your wooden products. However, if you’re interested in selling them, that’s exactly what you have to do. Be sure to include such factors as the cost of materials and also the cost of your time.
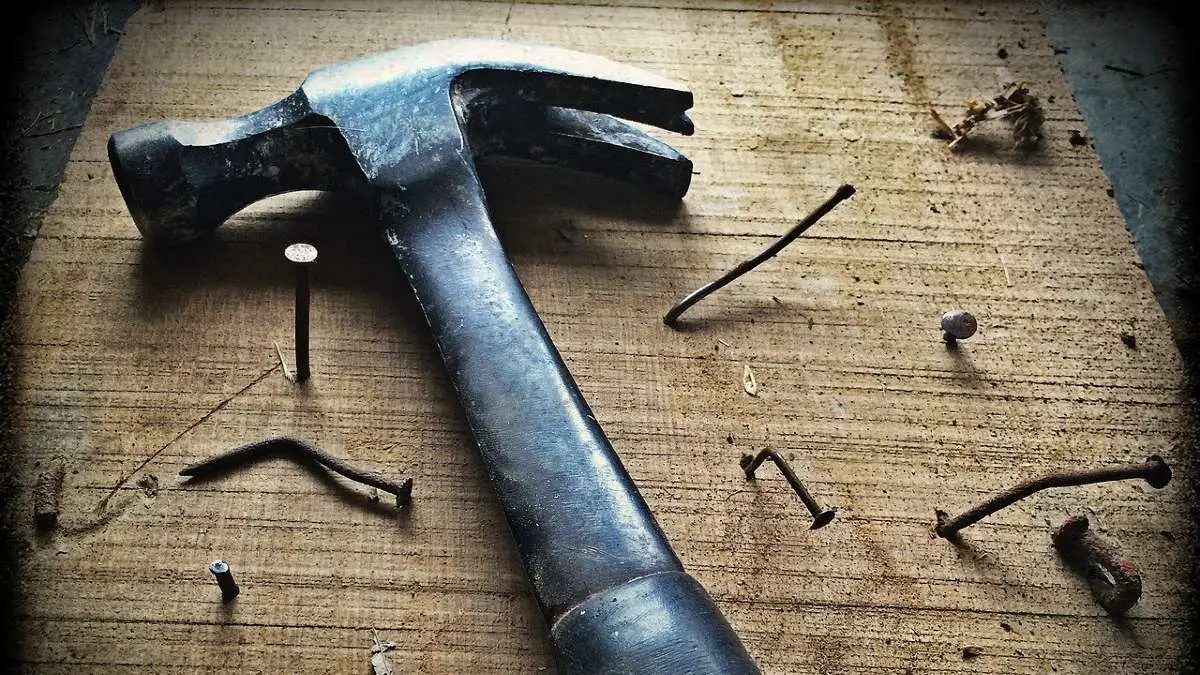
Take Care When Measuring: Everything You Need To Know To Start Woodworking
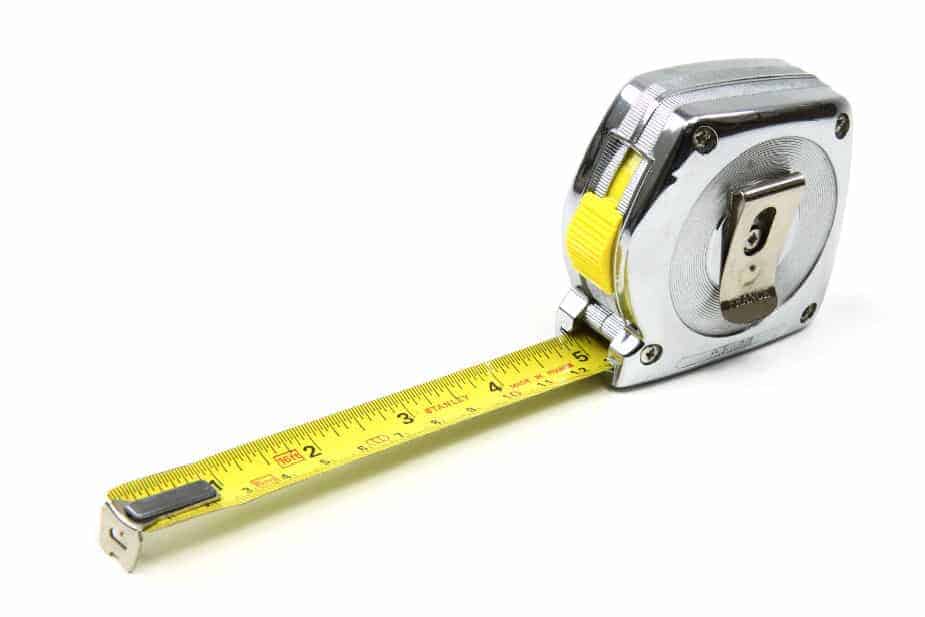
Be careful when measuring! Spend the time needed to do this job accurately and neatly. Of course, there are always exceptions to the rule. If you’re just interested in cutting a board into two pieces, you don’t really have to spend too much time measuring. If you don’t care about jagged edges and square corners you can go ahead and cut the board into pieces without doing any measurements at all. However, you really need to measure if you’re planning on building a project.
Use something like a pencil to draw your line. You can press lightly so that the line is easy to erase. You might decide to sand the area in order to remove pencil lines. If you push too hard, you might make some sort of an indentation in the wood that’s hard to remove. This is a problem with softwoods such as Pine.
Cutting blades have a definite width. So, they remove a section of wood about the width of the blade (or more). This is known as the Kerf and must be considered when making measurements. If you don’t, the wood pieces will not fit together properly. I guess this old proverb is as true as ever:
Measure twice, Cut Once
Urban Dictionary
When you cut wood, it’s permanent. There’s no going back. Well, you can sometimes glue pieces together after a cut. However, this is not always possible and it does take a lot of time. So, you need to be very sure before deciding to cut your wood.
One way of looking at it is like this: You actually save time when you spend more time on measurement.
Tools To Start With
Wood is a nice material to work with. The decorative grain is attractive and finished wood surfaces are irresistible. However, you need tools to mold the surface of this material. They can be either hand tools or even power tools. However, you need tools to do woodworking efficiently and accurately.
Unfortunately, the tools cost money. Are there some that are more important than others? Are there ones that you should get first? We will look at some of the common tools and attempt to answer these questions.
I will list them in order of importance. Of course, every situation is different. The best order for one person is not the same as the order another person should have. I hope that this information helps newcomers to woodworking:
Saw
Naturally, it’s very important to have a saw. I suppose you wouldn’t need one if you’re a black belt in Karate. In that case, you could just set up your boards and chop them into pieces. For most of us, however, saws are needed when cutting wood. Crosscuts are cuts across the grain of the wood. Rip cuts are cuts along the grain of the wood.
There are really many types of saws: First is the familiar hand saw. There are many variations of this. Moving the saw back and forth to make the cut can be very tiring. So, there are also many types of power saws.
Jigsaw: Everything You Need To Know To Start Woodworking
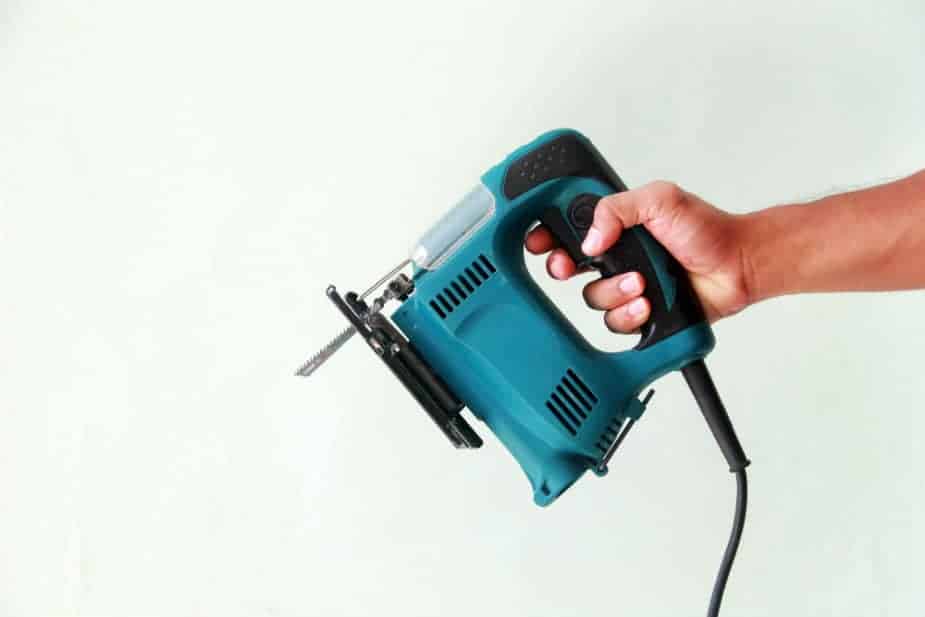
One of the most versatile and usable power saws is the Jigsaw. This is sometimes called a Saber Saw or Sabre Saw. This tool lets you cut curves in wood. You move the tool with your hand in order to cut out the desired curve. However, it can also cut straight lines. With the proper guides, you can make Crosscuts and also Rip Cuts. However, the accuracy is not too great, and it’s not the best tool for these jobs.
You can do the same sort of thing with a Coping Saw. This hand tool allows you to cut out any sort of curve you can trace onto the wood. It has a thin blade that is attached to the tool at both ends.
Strictly speaking, you can make Rips and Crosscuts with a Coping Saw. however, it’s definitely not the right tool for these jobs. The cuts will take far too long and will not be accurate. That is, the cut will be jagged, no matter how straight your pencil line is.
This is because the blade is very small and thin. You can easily move the saw off the pencil line. It’s likely that this will happen unless some sort of a guide or jig is used.
Electric Drill
It’s hard to find any wooden project that doesn’t require some sort of drill. This tool allows you to insert drill bits of various sizes into a rotating chuck in order to make holes in wood. There are many reasons for making holes: A hole can allow one piece of wood to fit into another, it can allow a fastener such as a nail or screw to work more easily, it can allow for interior cuts with a Jigsaw or Coping Saw, and many others!
Most electric drills have motors with ratings between 1/4 and 1/2 horsepower or so. This is more than enough power to allow the spinning bit to cut through the wood (or even other materials). As mentioned before, the size of the bits varies greatly. So, the motor must be powerful enough for large bits to do their jobs.
There are also many types of bits. For example, the Forstner bit allows large holes to be cut neatly. This type of bit does not tear up the wood too much and is commonly used in cabinetry. However, it’s also possible to use a Spade bit to make large holes like this. However, they’re “messier” and can also “tear up” the wood if you push too hard when finishing the hole.
There are many accessories for electric drills. These fit into the drill chuck and allow you to do more than just make holes in wood. For example, you can sand wood with a sanding drum attachment. This makes it easy to sand wood edges. I wrote another post about drill accessories.
Chisel: Everything You Need To Know To Start Woodworking
A chisel? Are you sure? Why am I including it on this list? Actually, chisels are very important hand tools. You often need to “shave” wood off and a chisel is a good tool for this. You also might use it to cut recesses for door hinges and similar things. For example, you can cut a recess in wood for a porcelain tile, put glue on the tile, and then place it in the recess.
You can also use an electric router for this. It would be faster, easier, and more accurate. However, it’s good to use a hand tool if you don’t need an electric power tool. The wood chisel is a lot safer than the electric router and requires less setup. I have written another post about dangerous power tools.
You might want to have a whole collection of chisels in your workshop. These could all vary in blade width. This lets you cut recesses of different sizes.
Electric Sander: Everything You Need To Know To Start Woodworking
Almost any sort of woodworking project will need to be sanded in some way. There are many reasons for this: You may want to remove marks from the wood. These can be made by pencils and other marking implements. You also may have other depressions or gouges in the wood that need to be smoothed out. Also, you may want the wood to be smooth to the touch if you’ll be finishing it with some sort of stain, polyurethane, or other material. I have written another post about sanding wood.
Doing this by hand requires a lot of “elbow grease” as you grind down the surface of the wood. It’s far faster and easier to use a power tool for this. There are many different types of sanders: Orbital Sanders, Random Orbital, Belt Sanders, and so on. This post will not go into these types. However, it will cover several basic principles:
What You Need To Know About Sanding: Everything You Need To Know To Start Woodworking
You should start with coarser sandpaper grits. Then you can transition to finer and finer grits. This allows you to remove marks on the wood.
You might think that you need to make the wood smoother and smoother. Is it reasonable to stop at some point? Yes, it is! The wood surface needs a certain amount of “roughness”. If you use sandpaper with a grit of about #220 or finer, the wood will not absorb stain properly. So, you will not get the deep, rich color you expect. Instead, you will get a “washed out” look.
Here’s one of the most important things newcomers to woodworking should know: Always sand with the grain of the wood. What is meant by this? Well, the wood is made of fibers that all travel in the same direction. The sandpaper needs to move back and forth along this direction. If it travels the other way, it can slice and cut the wood fibers. This leaves marks on the wooden project. They need to be removed with sandpaper or the wood finish will “bring them out”. It will make them “more visible”. This can ruin the appearance of your finished product.
Also, electric sanders move the sandpaper back and forth very quickly. In fact, this “motion” can be so rapid that you don’t even see it!. This makes it easy to bang the edge of the moving sander into wooden corners. This can leave marks that are hard to remove. So it’s best to be very careful and avoid this situation.
Gluing Wood: Everything You Need To Know To Start Woodworking
With most woodworking projects, you need to attach one piece of wood to another piece. You can do this with things like nails or wood screws. However, you often use wood glue. What do you need to know about this? Are there different types of glue? How do you go about doing this?
There many different types of wood glue. In fact, you can even use Elmer’s School Glue to hold wood pieces together. Here are some of the different types:
PVC (PolyVinylAcetate) Glue
This is one of the most common types of glue used for wood. You don’t need to mix this together and you just need to spread it between the areas to be joined. It can be cleaned up with water: You can just put water on a rag and wipe off the excess that flows out of the joint. When it’s dry, the joint is very strong. It can even be stronger than the wood itself!
Polyurethane Glue
This is also used a lot. This type is not soluble in water. You cannot use water to clean up the excess that flows out of the joints. In fact, you may need to moisten the glue to help it set. To remove the excess, you may need to sand, scrape, or plane it off.
Epoxy Glue
With this type of glue, a hardener and resin are mixed together. Many different materials, not just wood, can be glued together. So, for example, you might want to use this type of glue when attaching wood to metal.
Also, you might want to use this type of glue if the wood pieces do not fit together snugly. It can help fill gaps in the joints.
You Need Gluing Clamps
When you glue wood together, the pieces will be able to move. They will be free to move until the glue dries. I wrote another post about this subject. So, how do you deal with this problem? One approach is to use clamps in order to prevent the wood from moving. Then, the clamps can be removed after the glue has dried.
This means that you might want to have several clamps for your wooden projects. Many types of clamps are used when gluing, such as pipe clamps, wood screw clamps, and others. This post will not go into these types. However, there is much more to learn about wood clamps.
You need to consider many things when clamping wood: You need to immobilize the pieces. Also, you need to wipe off the excess glue. It flows out of wood joints when you press the pieces together. You do not want to obstruct the joints. In addition, you don’t want to mar the surface of the wood as you tighten the clamps.
Conclusion: Everything You Need To Know To Start Woodworking
It’s hard to list all of the things you need to know. There are many ways of looking at this: What’s important to one person is not important to another. The situations people face are not all the same. However, I attempted to list the important points.
If you don’t measure items properly before cutting, your project will never turn out. The pieces won’t even fit together properly! You don’t need to buy all sorts of tools before you start woodworking. Hand tools, as well as power tools, can be of help. Also, you need to use enough clamps when you glue wood. Make sure that the wood can not move before the glue dries and that you don’t mar the wood surface.
You will certainly find out much, much more after you start woodworking. Woodworking is an enjoyable and relaxing hobby!
Did you enjoy this post? Then, be sure to share it. Also, follow my boards on Pinterest.

EXCELLENT !!